
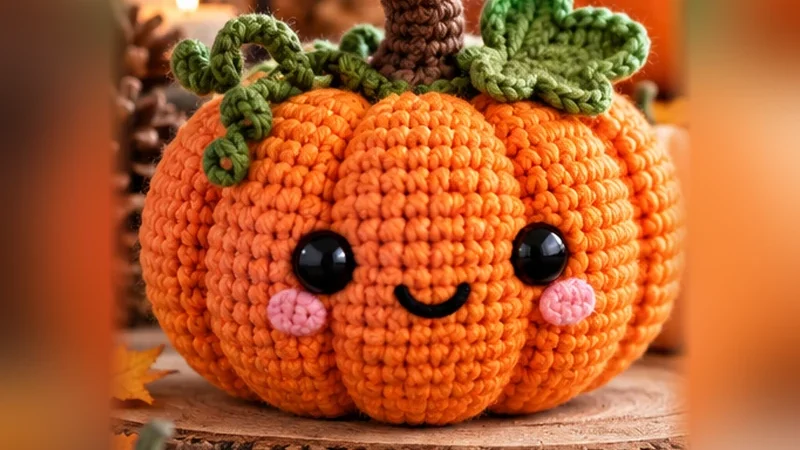
HALLOWEEN CROCHET · FREE MINI PATTERN
Halloween Pumpkin Crochet: A Cute Mini Pumpkin Project
Looking for a small Halloween crochet project you can finish at your own pace? This little pumpkin uses basic amigurumi shaping and a simple stitched stem. It makes a sweet shelf decoration, autumn table accent, or handmade gift.
Skill: Beginner with basic amigurumi experience
Terms: US crochet terminology
Includes: A complete original mini pumpkin tutorial
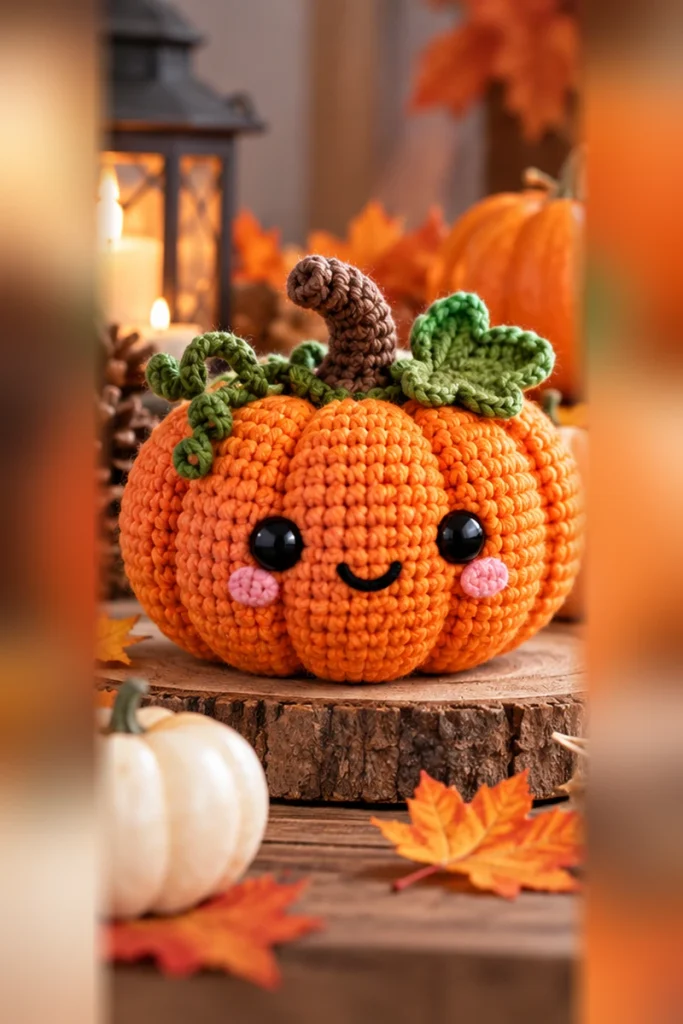
Little Pumpkin, Big Halloween Mood
A simple fall project with plenty of room to personalize your colors and expression.
What you will find here: An easy mini pumpkin tutorial, yarn and shaping advice, plus a route to the separate printable PDF pattern page.
About This Halloween Crochet Project
A crochet pumpkin is a useful first seasonal amigurumi project because the body starts as a rounded form, while the final shaping gives it the recognizable pumpkin ridges. The same basic idea can be styled as cheerful, rustic, or gently spooky.
For a more characterful Halloween display, pair your finished pumpkin with a handmade witch hat, an embroidered face, or another small crochet ornament. The trick is to make the pumpkin attractive on its own before you add accessories.
Supplies and Tools
This mini version uses small amounts of yarn. The exact finished size depends on yarn thickness, hook size, and stitch tension; the quantities below are flexible starting points rather than a tested gauge specification.
- Orange, rust, cream, or another pumpkin-colored yarn in a weight you enjoy using
- A crochet hook slightly smaller than the yarn label suggests, for a firm amigurumi fabric
- A short length of brown or green yarn for the stem
- Fiberfill stuffing
- Yarn needle, scissors and a removable stitch marker
- Optional contrasting yarn for an embroidered face
Before you start: Keep stitches close enough that the filling does not show through. A small test circle can save time if you are trying a new yarn and hook combination.
Mini Pumpkin Sizing and Stitch Guide
Use the following as a planning guide. Thicker yarn creates a bigger pumpkin; tighter stitches make a denser fabric. Work in continuous rounds unless a step says otherwise.
| Element | Recommended approach |
|---|---|
| Pumpkin body | Continuous single crochet rounds |
| Texture | Create ridges with yarn after stuffing |
| Stem | Small crocheted strip sewn to the top |
| Personalization | Embroidered features or a contrast-color stem |
This tutorial uses US terms. A US single crochet (sc) is a UK double crochet (dc).
Free Mini Pattern: Little Round Pumpkin
This mini pumpkin starts with a small crocheted sphere and gets its ridged pumpkin shape at the finishing stage. Read the full sequence before beginning and count each round with a stitch marker.
Helpful tip: Place a stitch marker at the beginning of each round and check the stitch count as you go. The project is worked in a continuous spiral.
Stitches and Abbreviations
- MR = magic ring
- sc = single crochet
- inc = two single crochets in the same stitch
- dec = single crochet decrease
- st = stitch
- FO = fasten off
Crochet Instructions
- With pumpkin-colored yarn, make 6 sc in a magic ring. (6 sts)
- Round 2: Inc in every stitch. (12 sts)
- Round 3: Repeat (1 sc, inc) six times. (18 sts)
- Round 4: Repeat (2 sc, inc) six times. (24 sts)
- Round 5: Repeat (3 sc, inc) six times. (30 sts)
- Rounds 6–11: Work 1 sc in each stitch around. (30 sts each round)
- Round 12: Repeat (3 sc, dec) six times. (24 sts)
- Round 13: Repeat (2 sc, dec) six times. (18 sts)
- Begin stuffing, keeping the piece rounded rather than overfilled. Round 14: Repeat (1 sc, dec) six times. (12 sts)
- Round 15: Work 6 decreases. (6 sts) Fasten off, leaving a long tail. Pull through the remaining front loops to close the opening.
- For the stem, use green or brown yarn to chain 6. Work 1 sc in the second chain from the hook and in each remaining chain. (5 sc) Fasten off and leave a sewing tail.
Finishing and Decorating
- Thread a separate length of matching yarn through the center of the pumpkin from top to bottom. Wrap it around the outside and bring it back through the center to form one gentle ridge. Repeat around the body to create five or six sections.
- Secure the ridge yarn firmly but avoid pulling so tightly that the pumpkin loses its soft, rounded shape.
- Curl the short stem strip into a small upright piece or lay it flat, then sew it securely over the top center.
- Optional: embroider tiny eyes or a smile using contrast yarn. If you want a rustic look, leave the face off and display several pumpkins in different shades.
Safety reminder: For decorations intended for children, embroider facial details and avoid loose plastic parts. Decorative projects with detachable items should be kept out of reach of very young children.
Make Your Pumpkin Look Playful or Spooky
One tiny pumpkin can work in several different Halloween looks. Try one direction rather than combining every detail at once:
- Cozy autumn: cream yarn, a muted green stem, and no facial features.
- Friendly jack-o’-lantern: orange yarn and a simple embroidered smile.
- Midnight Halloween: dark plum yarn with a tan or copper-colored stem.
- Display set: crochet three pumpkins in different yarn weights for a more interesting shelf arrangement.
Common Mistakes and How to Avoid Them
- Visible stuffing: change to a smaller hook or work with more even tension.
- Uneven ridges: mark equal positions around the pumpkin before pulling the shaping yarn through.
- Flat-looking body: add a little filling, then recheck the shape before tightening the ridges.
- Wobbly stem: sew through several stitches at the top rather than attaching it with a single pass.
Frequently Asked Questions
Where can I get the printable PDF?
Open the pattern details page to find the latest PDF format and whether it is available as a free download or a paid pattern.
Is this pumpkin crochet pattern beginner-friendly?
Yes, if you know the magic ring, single crochet, increases and decreases. Practice on a small swatch first if those stitches are new to you.
Can I make a larger pumpkin?
Yes. Use thicker yarn and a suitable hook, or develop an expanded round sequence. Changing yarn weight alone is an easy way to experiment without changing these instructions.
Do I need plastic safety eyes?
No. The mini pumpkin looks complete without a face, and embroidery is a flexible alternative.
Can I sell pumpkins I make?
If you make items for sale, use your own materials and photography, check any pattern licensing terms you rely on, and follow the applicable product safety rules.
Explore More Halloween Crochet Ideas
If you are building an entire Halloween display, combine your mini pumpkin with two more independent projects:
- Make a mini crochet ghost to sit beside the pumpkin.
- Try a mini witch hat for seasonal accessories and costume details.
Get the Cute Crochet Pumpkin PDF Pattern
Want a version you can keep beside your yarn? Visit the dedicated pattern page for details about the pumpkin project, extra guidance and the latest PDF download or purchase option. The free mini tutorial above stays available here.