HALLOWEEN AMIGURUMI · FREE MINI PATTERN
Cute Ghost Crochet: Make a Tiny Friendly Ghost
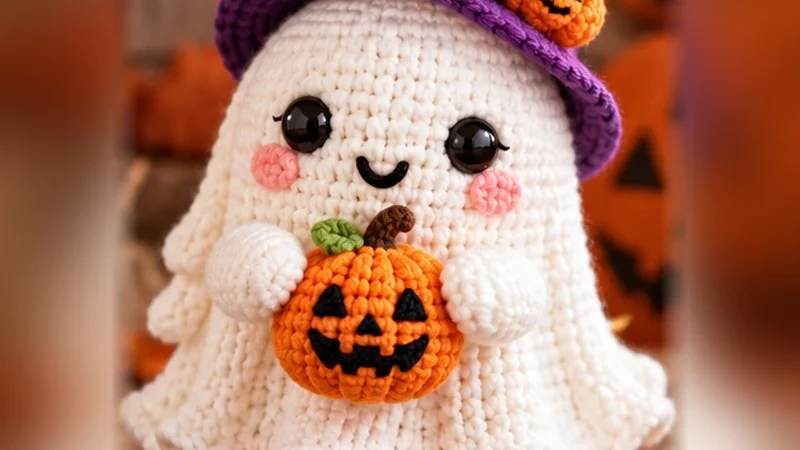
A little crochet ghost can be spooky, sweet, or both. This mini Halloween project combines a rounded head, a gently wavy lower edge, and a simple embroidered expression. Try it as a desk companion or seasonal handmade decoration.
Skill: Confident beginner / early intermediate
Terms: US crochet terminology
Includes: A complete original mini ghost tutorial
A Friendly Little Haunting
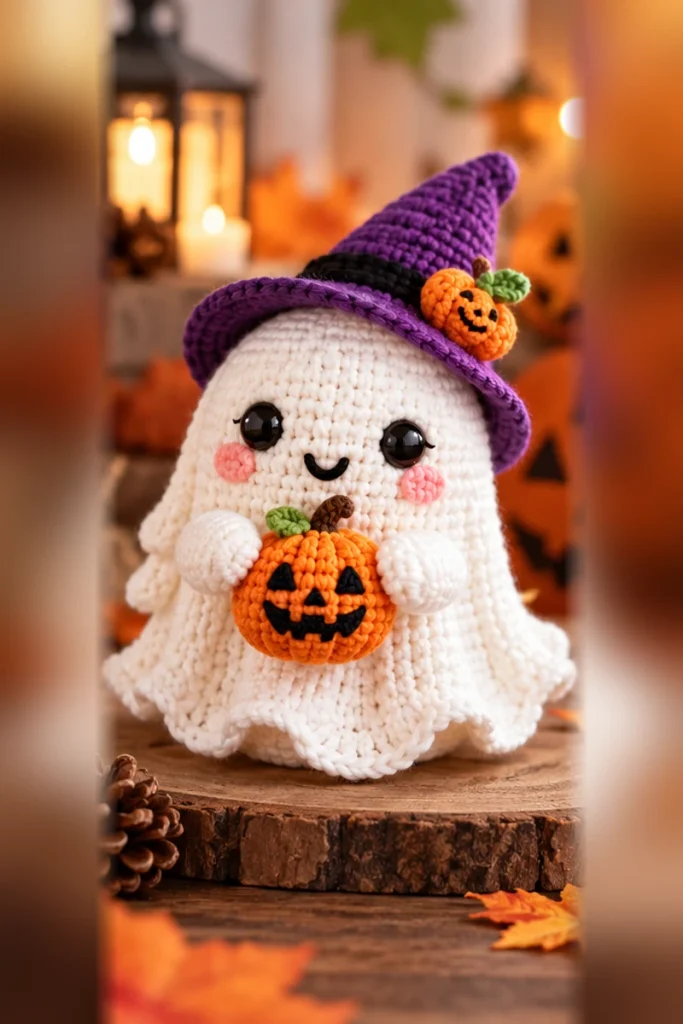
Soft white stitches, a rippling hem and a face you can customize.
What you will find here: A small ghost amigurumi tutorial, simple embroidery and edging tips, plus a separate page for the printable PDF pattern.
About This Halloween Crochet Project
Ghost amigurumi is popular for Halloween because a simple silhouette does much of the storytelling. A rounded upper body reads as friendly, while the fabric along the lower edge creates the drifting, floaty feeling of a tiny ghost.
You do not need lots of decorations. Two embroidered eyes and a small smile often provide enough personality. A terracotta scarf, a tiny bow, or a pumpkin-colored accessory can suggest an autumn outfit without making the main project complicated.
Supplies and Tools
Choose a smooth yarn so you can see individual stitches clearly. Soft cotton blends or acrylic yarn work well for practice, but use a hook that produces a firm fabric.
- White, ivory or pastel-colored yarn for the ghost
- Crochet hook suited to the yarn for a tight, even amigurumi fabric
- Small amount of black embroidery yarn for the face
- Fiberfill stuffing
- Tapestry needle, scissors and stitch marker
- Optional rust or orange yarn for a separate small seasonal accessory
Before you start: Embroider the eyes before the final closing rounds if you prefer a clean interior. Avoid glued-on loose pieces for an item that might be handled by children.
Ghost Shape: What Each Part Does
The project uses one main body with a decorative hem, then closes underneath. The ruffle and the bottom closure are worked into different loops of the same round.
| Section | Purpose |
|---|---|
| Upper rounds | Form the gently rounded head |
| Middle rounds | Give the ghost a compact body |
| Front-loop edging | Create a light wavy silhouette |
| Back-loop closing | Contain the stuffing underneath the frill |
All instructions use US terminology. The wavy edge includes half double crochet (hdc) and double crochet (dc).
Free Mini Pattern: Friendly Ghost with Wavy Hem
The decorative edging is made in the front loops of the body, while the unused back loops provide a separate starting point for closing the underside neatly.
Helpful tip: Mark the first stitch of each round. Once you have finished the decorative hem, locate the remaining back loops carefully before working the lower section.
Stitches and Abbreviations
- MR = magic ring
- sc = single crochet
- inc = two single crochets in one stitch
- dec = single crochet decrease
- sl st = slip stitch
- hdc = half double crochet
- dc = double crochet
- FLO / BLO = front loop only / back loop only
Crochet Instructions
- With white yarn, work 6 sc into a magic ring. (6 sts)
- Round 2: Inc in every stitch. (12 sts)
- Round 3: Repeat (sc, inc) six times. (18 sts)
- Round 4: Repeat (2 sc, inc) six times. (24 sts)
- Rounds 5–8: Work 24 sc each round. (24 sts)
- Round 9: Repeat (3 sc, inc) six times. (30 sts)
- Round 10: Work 30 sc. (30 sts)
- Round 11: Repeat (4 sc, inc) six times. (36 sts)
- Round 12: Work 36 sc. (36 sts)
- Round 13, decorative edge: Work into the front loops only of Round 12. Repeat (sl st, sc, hdc, dc, hdc, sc) six times. Fasten off the edging yarn.
- Rejoin white yarn to the unused back loops of Round 12. New bottom Round 1: Repeat (4 sc, dec) six times. (30 sts)
- Bottom Round 2: Repeat (3 sc, dec) six times. (24 sts)
- Bottom Round 3: Repeat (2 sc, dec) six times. (18 sts)
- Add fiberfill, keeping the base fairly flat. Bottom Round 4: Repeat (sc, dec) six times. (12 sts)
- Bottom Round 5: Work 6 decreases. (6 sts) Fasten off, close the remaining hole with a yarn needle and weave in the tail.
Finishing and Decorating
- Use a yarn needle to embroider two eyes on the rounded upper section. Add a small curved smile if you want a friendly expression.
- Gently arrange the wavy edge so it extends around the closed underside. Fluff the stuffing if the ghost looks uneven.
- For a hanging decoration, sew a secure yarn loop at the top and check the attachment before using it as an ornament.
- Optional costume idea: make a separate tiny bow or rust-colored accessory, and attach it only when its weight and size suit the finished ghost.
Safety reminder: Small plastic eyes and detachable ornaments are choking hazards. Use embroidered details for toys intended for young children and follow applicable toy-safety requirements before selling finished toys.
Ghost Crochet Costume and Color Ideas
The simple shape leaves room for lots of personality without demanding a completely new pattern:
- Classic ghost: white body, embroidered black eyes and a tiny smile.
- Autumn ghost: cream body with a rust-colored accessory or tiny pumpkin companion.
- Pastel ghost: lavender or pale mint yarn with minimal embroidery.
- Mini display: crochet a group of ghosts in different sizes by experimenting with yarn thickness.
Common Mistakes and How to Avoid Them
- Ruffle disappears: make sure the decorative edge is worked in the front loops, not both loops.
- Gap near the base: count the 36 unused back loops carefully before beginning the closing section.
- Uneven stuffing: add small pieces gradually rather than pushing in one large clump.
- Face sits too low: place removable markers for the eyes first, then embroider once the position looks balanced.
Frequently Asked Questions
Where can I get the printable PDF?
Open the pattern details page to find the latest PDF format and whether it is available as a free download or a paid pattern.
Is this a no-sew crochet ghost?
The main shape is crocheted in one piece, but you still use a needle to embroider its features, close the final opening, and optionally add a hanging loop.
Can I use plush yarn?
Yes, although the individual stitches may be harder to see. Use a compatible hook and expect the finished ghost to be larger.
Can I add a pumpkin-colored hat?
Yes, as a separately designed accessory. Measure the finished head first so the hat sits comfortably and does not distort the ghost.
Can this pattern be used for a baby toy?
Do not assume it is baby-safe as written. Toy safety depends on yarn, construction, attachments and compliance with the relevant safety requirements.
Explore More Halloween Crochet Ideas
Build a small Halloween scene by placing your ghost next to a matching pumpkin or a miniature costume accessory:
- Crochet a tiny pumpkin for a seasonal companion.
- Explore a mini crochet witch hat for Halloween styling.
Get the Cute Crochet Ghost PDF Pattern
Want a version you can keep beside your yarn? Visit the dedicated pattern page for details about the ghost project, extra guidance and the latest PDF download or purchase option. The free mini tutorial above stays available here.