
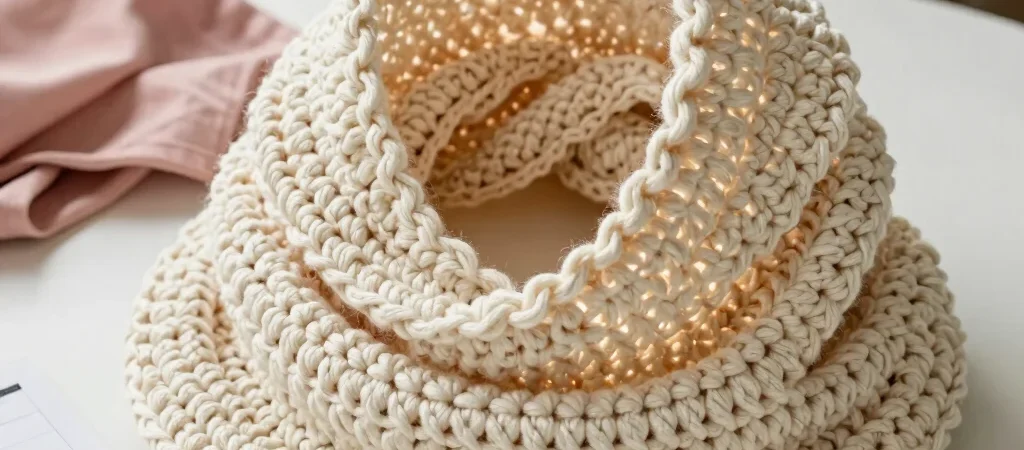
When you start a crochet hooded scarf, the hood can seem like the part to worry about first. It is usually easier to focus on one section at a time: read the pattern, make the scarf or hood as directed, then follow the instructions for joining and finishing. Stitch-by-stitch instructions are most useful when you pause to check them before a new section begins.
Set up before the first stitch
Gather the yarn, hook, scissors, and stitch markers listed in the pattern. Read through the instructions once and note any unfamiliar abbreviations or stitches; a crochet tutorial can help you review those before you need them mid-row. Keep the pattern open nearby, whether it is on a screen or in a downloadable PDF.
Work in manageable sections
Follow the pattern’s construction rather than trying to assemble the whole scoodie in your head. Place a stitch marker at the end of a row or at a shaping point if that helps you keep your place, and count stitches when the instructions call for it. If your stitch count changes unexpectedly, pause there instead of carrying the error into the next section.
Check the fabric as you go
Lay the scarf section flat now and then to see whether its edges are staying even. When you reach the hood, compare its proportions with the pattern notes before sewing or joining anything. A quick check is much easier than undoing several finished rows.
Finish with a calm review
Follow the pattern’s finishing directions for joining, weaving in ends, and any edging. Try the scoodie on before trimming yarn tails, checking that the scarf sits comfortably and the hood rests where you expect. Keep the pattern’s yarn and hook details with the finished piece so you can refer to them if you make another.